
What’s not to love about Roblox? We talk about it often, it’s been a wildly popular summer camp option, and now a popular virtual camp learning destination. The free-to-play platform has captured the hearts and attention of kids worldwide.
And for us parents, you can find assurance in the fact that Roblox community safety is a primary concern, with Roblox taking the topic and general online safety of kids very seriously.
We’re always here to make Roblox easier for parents to navigate, and our Roblox dictionary, breakdown of the similarities and differences between Roblox and Minecraft, and guides to the educational benefits of Roblox and how to play and get started in Roblox are just a few resources to help get going!
How to make a Roblox game using Roblox Studio
Along those same lines, we wanted to take some time to provide tutorial instruction on how your student can go about creating their own game on Roblox (maybe even a parkour obby)—starting with the basics of creating an account and downloading Roblox Studio, and then moving into building an obstacle course and walking through the many steps involved in doing so.
1. Create a Roblox account
Creating an account is the very first step for anyone wanting to build their own Roblox worlds.
Begin with opening roblox.com in your preferred browser, and then creating a character by filling out the following info:
Birthday: Select the month, day, and year of your creator’s birthday. According to Laura, the Director of Community Safety and Digital Civility at Roblox, inputting the accurate date of birth is important as the strictness of features like text chat will be adjusted based on age.
Learn more about how to turn Roblox to night from day
Username: Here you’ll create a username or “screen name” that others will know your character by. Another safety precaution—don’t use anything close to a real name here. This should be an entirely fictional moniker as it will be visible to other account holders.
Password: Add a password just as you would with other website logins. Again, take the password seriously and stay away from way-too-easy-to-guess combinations of “123456,” “Password123,” and the like.
After, click “Sign Up.”
2. Install Roblox Studio
Once the account has been created, you’ll be automatically logged into Roblox, and now ready to download and install Roblox Studio.
(Again, this is a guide for parents. Kids should never download anything without parental permission.)
- Click “Create” at the top of the screen.
- Once the page loads, click “Start Creating.”
- You’ll see a prompt to “Download Studio.” Click it.
- Once Studio downloads, open it and run the program.
- When installed, you’ll be asked to log in once again.
3. View Roblox game examples
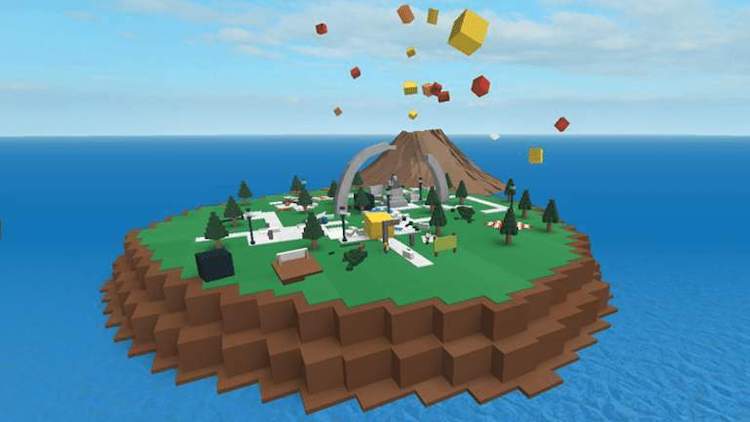
With the basics out of the way, it might be useful to pause and check out a few different types of games that can be created using Roblox Studio:
Survival games
Natural Disaster Survival is a game where 20 players get together and try to survive a number of different types of natural disasters. In this type of game, players aren't out to get each other, so the only way to lose is by way of a "part" breaking free and flying around the arena.
Hide and Seek games
Hide and Seek games work just like they do in real life—players hide throughout the world and one person must search and find them!

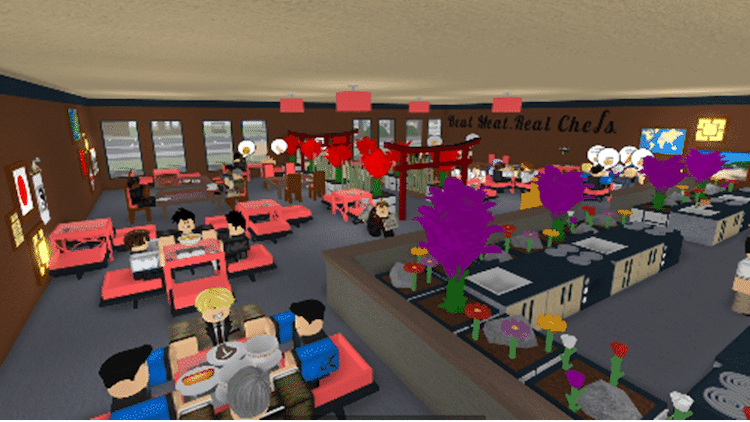
Tycoon games
Tycoon games are one of the few single-player-type games in the Roblox community. The goal of tycoon games is to open any kind of store (restaurant, theme park, etc.) and then try to grow the business.
Read More: How to Turn on Roblox Team Create
In this game, players can become restaurant millionaires by successfully serving customers food. Happy customers means more money with which builders can expand their business, hire workers, get more tables, and even open a second restaurant!
4. Build an obstacle course
All of that said, the first game that one will probably create is an obstacle course, or "Obby." (Check out our Roblox dictionary!) An Obby is a game where the player must navigate many different obstacles and mazes to make it to the finish line in a timely manner.
To get started, open the editor.
Once the editor is opened, you’ll see and start with a baseplate, which is a basic starting template used to build a project.
Navigating the editor
Before an obstacle is built, it’s valuable to get familiar with how to fly around this brand new world!
Here is a breakdown of what each button will allow players to do:
- W: Move forward
- S: Move backward
- A: Move left
- D: Move right
- E: Move up
- Q: Move down
Tip: On the mouse, holding right-click allows players to rotate whichever way the camera is facing. A simple way to navigate is to right-click and hold while pressing W. This will fly players in the direction they're currently facing while allowing them to move the mouse to steer.
Inserting and moving a part
Obstacle courses are made up of many different "parts," which are physical objects that can be inserted into a level.
To go about doing so, look towards the top of the screen and locate the “Part” icon. For this example, select the “block” part.
Once clicked, you can now drag your part around the editor, and if you’d like to make it larger or smaller, or even have it face another direction, you can utilize the “scale” or “rotate” buttons.
Both actions function similarly to what you’ve probably experienced in other programs, for instance, with the scale option offering different draggable dots on your part that can be used to extend or shrink it.

Anchoring parts
A key feature of most Obbys is the floatable part; that is, a part that isn’t affected by gravity, and thus suspended in air.
You can anchor the part from the properties menu. To access, click your block and look to the bottom-right corner of the screen. Here you’ll see your part properties, and will be able to check the box next to “anchored” in order to implement the behavior.
Building the first steps
With a block anchored, more of them can be added in the same manner in order to create “steps.”
For example:
- Add two more blocks to the level.
- Scale the new blocks to match the existing block.
- Position all blocks to gradually get higher than the previous.
- Make sure all blocks are anchored!
5. Test the game
While we’ve only touched on creating a few basics with this new game, it’s important to stop and test each iteration to ensure players are capable of making the newly-created jumps, and that blocks are appropriately-sized and spaced.
To enter Play mode and test:
- Click the “Play” button in the menu at the top of the screen.
- Once the player appears, use the keys to move, and spacebar to jump.
- Guide the player across each block step to make sure all jumps are possible. (The quickest way to make a game nobody wants to play is to make it impossible to progress through!)
- Once done testing, click “Stop” to exit and return to the editor.
That’s it! (That’s it?)
Yes, that’s it in terms of learning what it takes to create a game in Roblox! But no, that’s not entirely all that’s available to game creators!
For instance, while building an obstacle course, platforms can be made to look however the creator desires. They can be long and thin, have a slope, or even be a floating cone! That’s the beauty of game creation from scratch—anything is possible.
Here are a couple of other actions that might come in handy:
Duplicate: The Duplicate tool allows designers to create copies of an object to use as many times as they want! It's also useful for populating levels with lots of different models very quickly; for example, making more platforms out of the ones that have already been created. (Right click, then “duplicate.”)
SpawnLocation: SpawnLocation in Roblox is the location that a player will appear when they first enter the world or when they die in the game. Without a designated place for a player to start, they might spawn in the middle of nowhere and fall to their doom, repeatedly. (“+” under “Workspace” and type “SpawnLocation.”)
From here, creators can also design to their heart’s content, adding colors and making their worlds more visually appealing.
Checkpoints are also necessary so that players can progress through levels and then restart (spawn) at the provided point should they die (and not have to begin all the way back at the beginning).
6. Coding and beyond
While the above breakdown is enough to get any new creator going with their own game in Roblox, there is so much more that can be accomplished thanks to the power of code!
Roblox uses Lua, which stands out as a fun option when it comes to kids coding languages. With Lua, coders can take games to new heights, including features like explosions, new characters, and swords that wield awesome power.
Never coded before? No problem!
Part of the beauty of Roblox is how gameplay and other content kids already enjoy bridge the gap between old and new knowledge. Your child might already love playing hours of Roblox, or perhaps is a big fan of YouTube personalities like Dude Perfect; these experiences are an excellent foundation that makes learning to code more approachable.
If you're interested in getting your kids started in Roblox, consider a Roblox tutor, and check out our online coding classes for kids or Virtual Tech Camps, which offer a handful of courses that focus on Roblox, including:
- How to Make an Obby (Ages 7-9)
- Roblox Monetization (Ages 10-12)
We've also compiled a running list of Roblox FAQ; questions and answers from our popular Roblox 101 series.