
This season from home gives the perfect opportunity to spook-ify your house with outdoor Halloween decorations! So, for your next DIY, create the ultimate seasonal decoration with this fun, light-up Halloween wreath.
To get started, you'll need a few low-cost supplies that can be found on Amazon or at any craft store.
Important: These instructions are meant to be followed and worked on by parents with their children, and shouldn't be carried out without adult supervision.
SPOOKY HALLOWEEN WREATH SUPPLIES
Parents, here is what you'll need.
- Basic wreath base (can be found on Amazon or at a craft store)
- String lights (plug-in or use battery-powered)
- Black primer (if you don’t find a black wreath base)
- Black rubber snakes (if you can’t find all-black snakes, you can use mixed colors)
- Hot glue gun
- X-Acto knife or scissors
- Black tulle (can be a different color or sparkly)
- Optional: gloves, black zip ties and/or thread

STEP-BY-STEP
Step 1: Paint the wreath
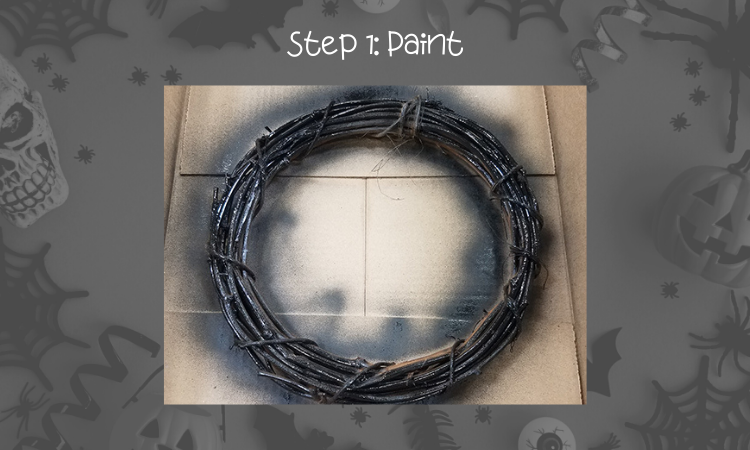
Using a black primer, spray the wreath. You’ll want to do this in a garage or outside, because the fumes can be strong.
Give the wreath at least 20 minutes to dry before handling.
Step 2: Prep your wreath and work area
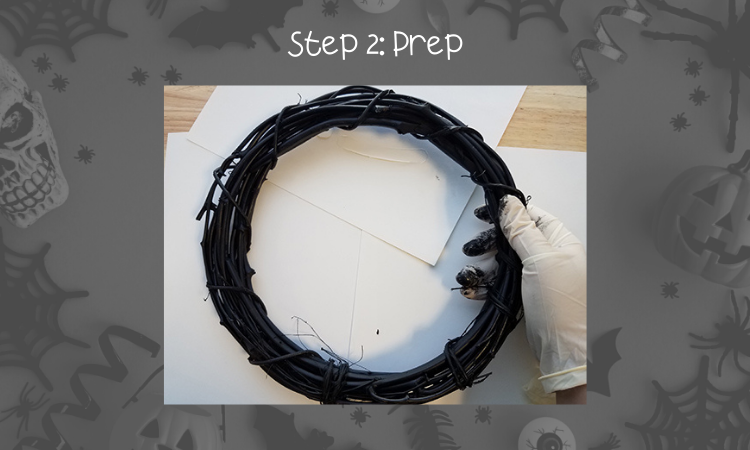
Prep your work area by placing newspaper or scrap paper where the wreath will sit.
Using gloves or a paper towel, check the wreath to see if it’s still sticky. (It might not immediately be sticky to the touch but once you move it, some of the undried residue may initially come off on the paper towel or gloves.)
If you see any black smudges, let the wreath sit for another 20–30 minutes.
Step 3: Wrap the string lights

Wrap the string lights tightly around the wreath base. You can wrap the lights evenly or cluster a section for more depth. Because our lights had spiders, we decided to group them together on the bottom-left side.
Step 4: Attach the snakes
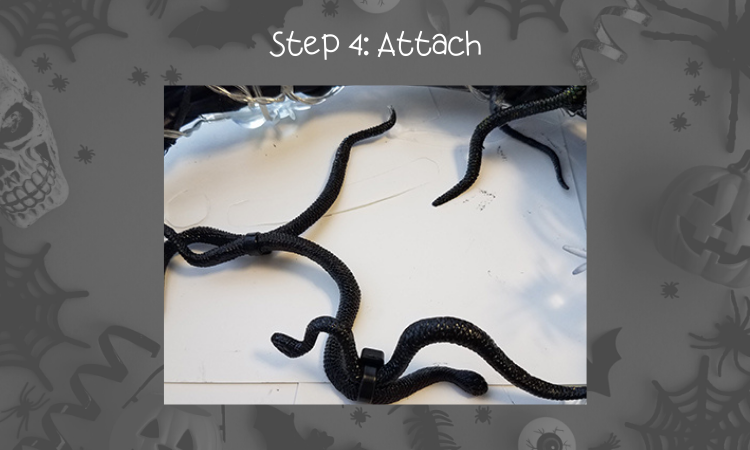
Using hot glue, attach the snakes to the wreath, one by one. To give the wreath more depth, use black zip ties to attach a few snakes to each other before gluing them to the wreath.
If the snakes are coming loose, hold them down for 30 seconds after you glue them so they stick firmly to the wreath. You can also tuck part of the snakes into the wreath for a more textured look and extra hold.
Step 5: Check for loose snakes
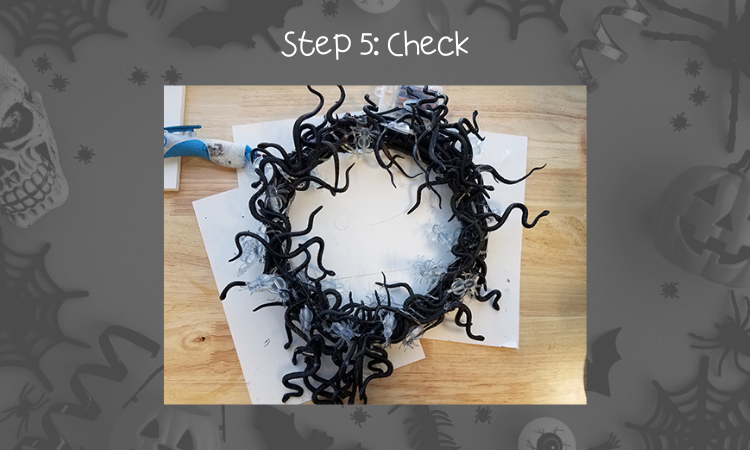
After you add your snakes (we clustered a bunch around the spiders to make it interesting), give the wreath a shake to remove any loose snakes.
Use hot glue, zip ties, and black thread to affix any wiggly snakes. You’ll want to add extra glue and thread if your wreath is going outside.
If you have extra hot glue, wrap the wreath in some of the glue threads to make it look like spider webs.
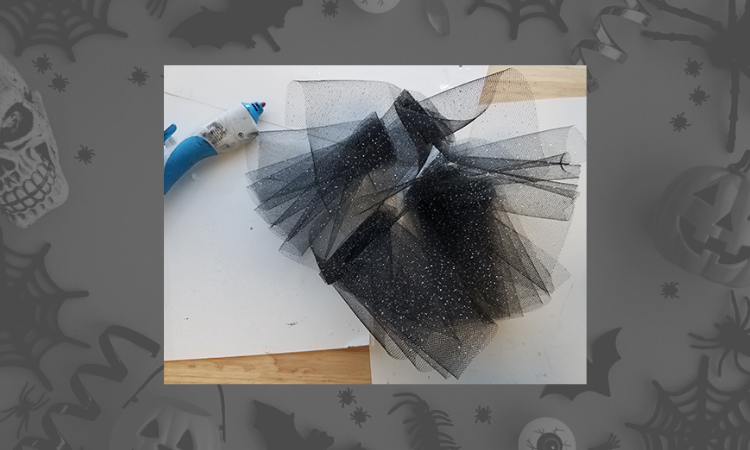
Step 6: Fold the tulle
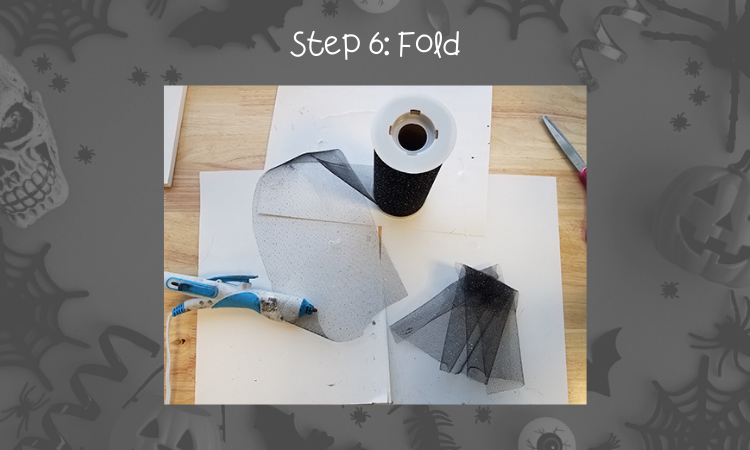
To give your wreath some flair, add a few bunches of folded tulle.
Cut a 6–10” piece, then fold it a few times in a zigzag pattern. Fold over the top, holding it together with a little hot glue.
Step 7: Attach the tulle
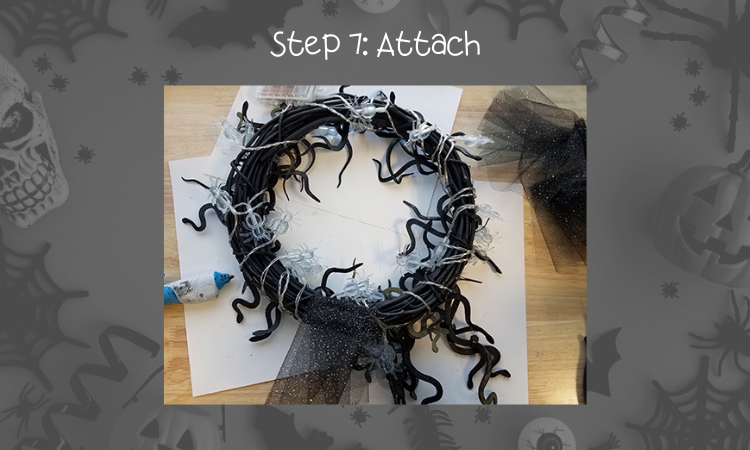
Add some hot glue to the back of the wreath and press down on the folded section of the tulle to glue it into place. Hold for about 10 seconds until the glue cools.

Now, add the tulle around the rest of the wreath. You can cover the entire back side of the wreath or only add the tulle as accents.
Step 8: Add batteries (optional)
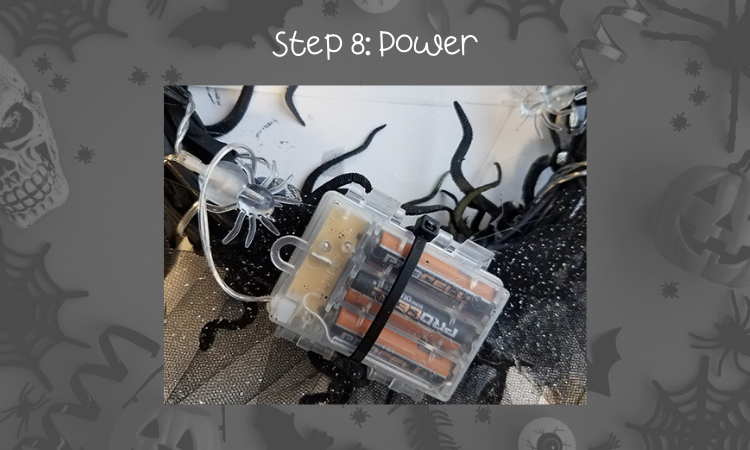
If your lights have a battery pack, take a zip tie or thread and tie down the battery pack. This will ensure it doesn’t fall down after you hang your wreath.
Step 9: Pick a perfect spooky spot!
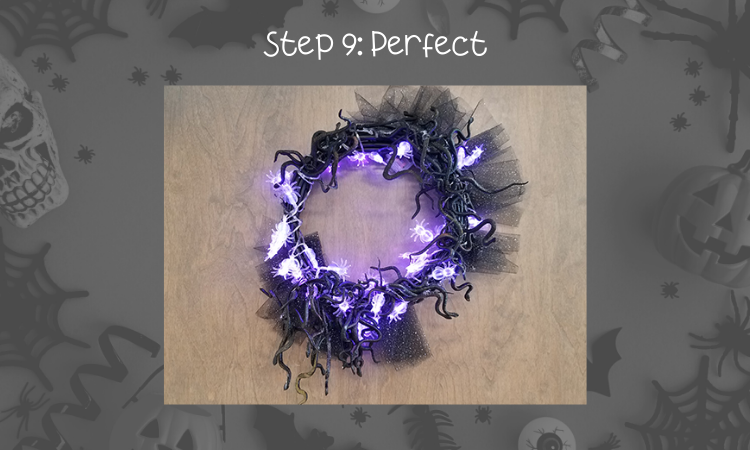
Next, pick the perfect place to hang your wreath! Place it on the front door, over the fireplace at home, or even to decorate your office!
Comment below if you made this wreath or another of your own—we would love to see your creativity shine (literally)! Then, showcase the final product on Facebook, Twitter, and Instagram. Upload your photos with hashtag #iDTechHalloween.