|
We partnered with BattleBots® before robotics clubs were popular. We teamed up with NVIDIA® before AI was the hot topic. And we just partnered with Mark Rober’s CrunchLabs® because we know it’s not viral—it’s innovation. This summer, your child can chase their dreams and engineer a bright future with iD Tech. Use code BUILD for • $150 off camps and academies • $100 off virtual camp • $40 off private lessons Valid for a limited time only. $150 off applies only to camps and academies. $100 off applies only to virtual camp. $40 off applies only to private lessons. Promo code may be used once per child per program. Promo codes can not be applied to previous purchases or combined with other offers. |
FontForge - InstructionsFontForge - Instructions
FontForge
Please note: At this time, font creation courses cannot be run on Chromebooks or iPads.
To download and install FontForge, use the steps below for your specific Operating System.
Windows:
1. Go to fontforge.org/en-US/downloads/windows-dl/.
2. Click Download Installer to save the installer to your computer.

3. Open the downloaded file to run the installer on your computer.
4. Follow the on-screen instructions to set up the language and folder locations.
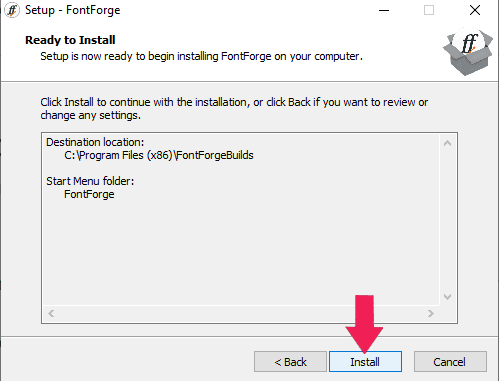
5. Click Install to finish the installation process.
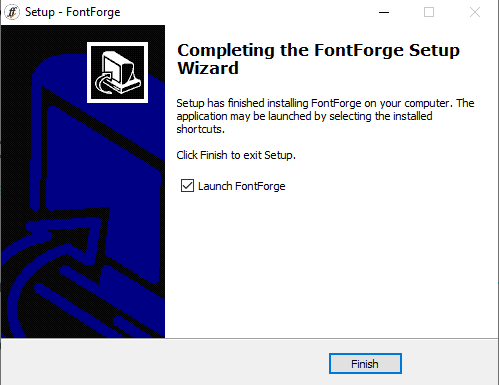
6. Ensure that ✅ Launch FontForge is checked and click Finish.
Mac:
1. Go to fontforge.org/en-US/downloads/mac-dl/.
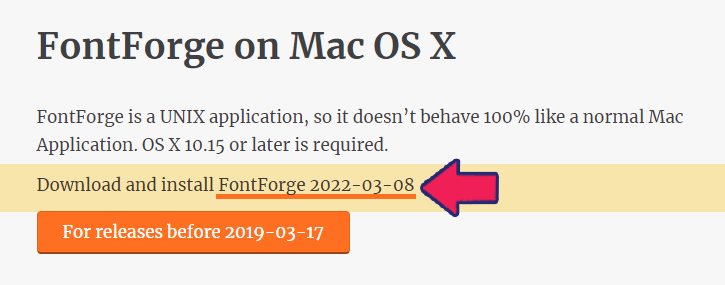
2. Click the Download and Install FontForge link to save the installer to your computer.
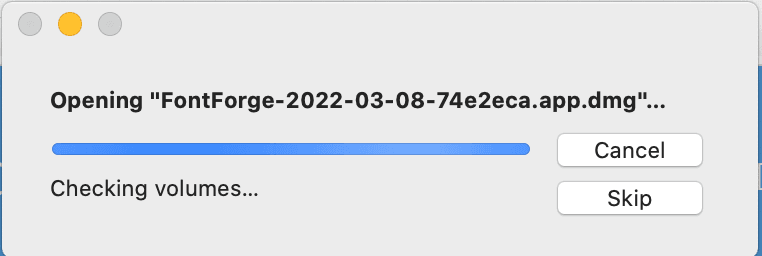
3. When it appears at the bottom of the browser, click the dmg to open it (or navigate to your Downloads folder and double-click it to open).
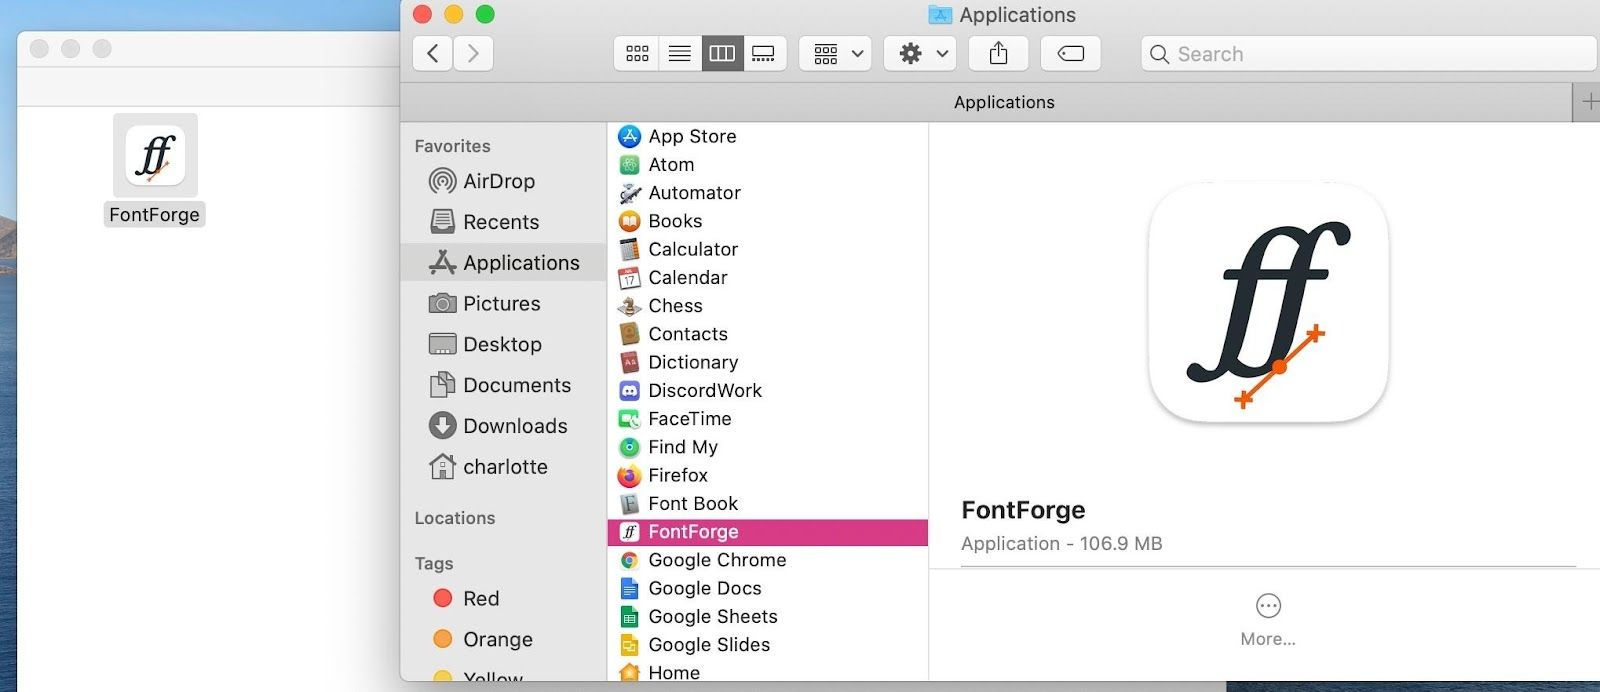
4. In the Downloads Finder window, drag and drop the FontForge app into the Applications folder.
5. Double-click the FontForge icon to open FontForge.
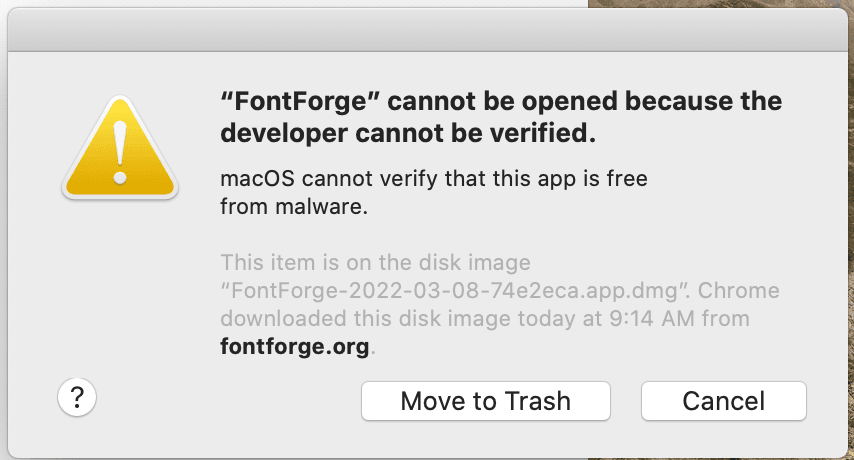
6. Instead of opening, it will say that it can’t be opened because the developer cannot be verified. Click Cancel.
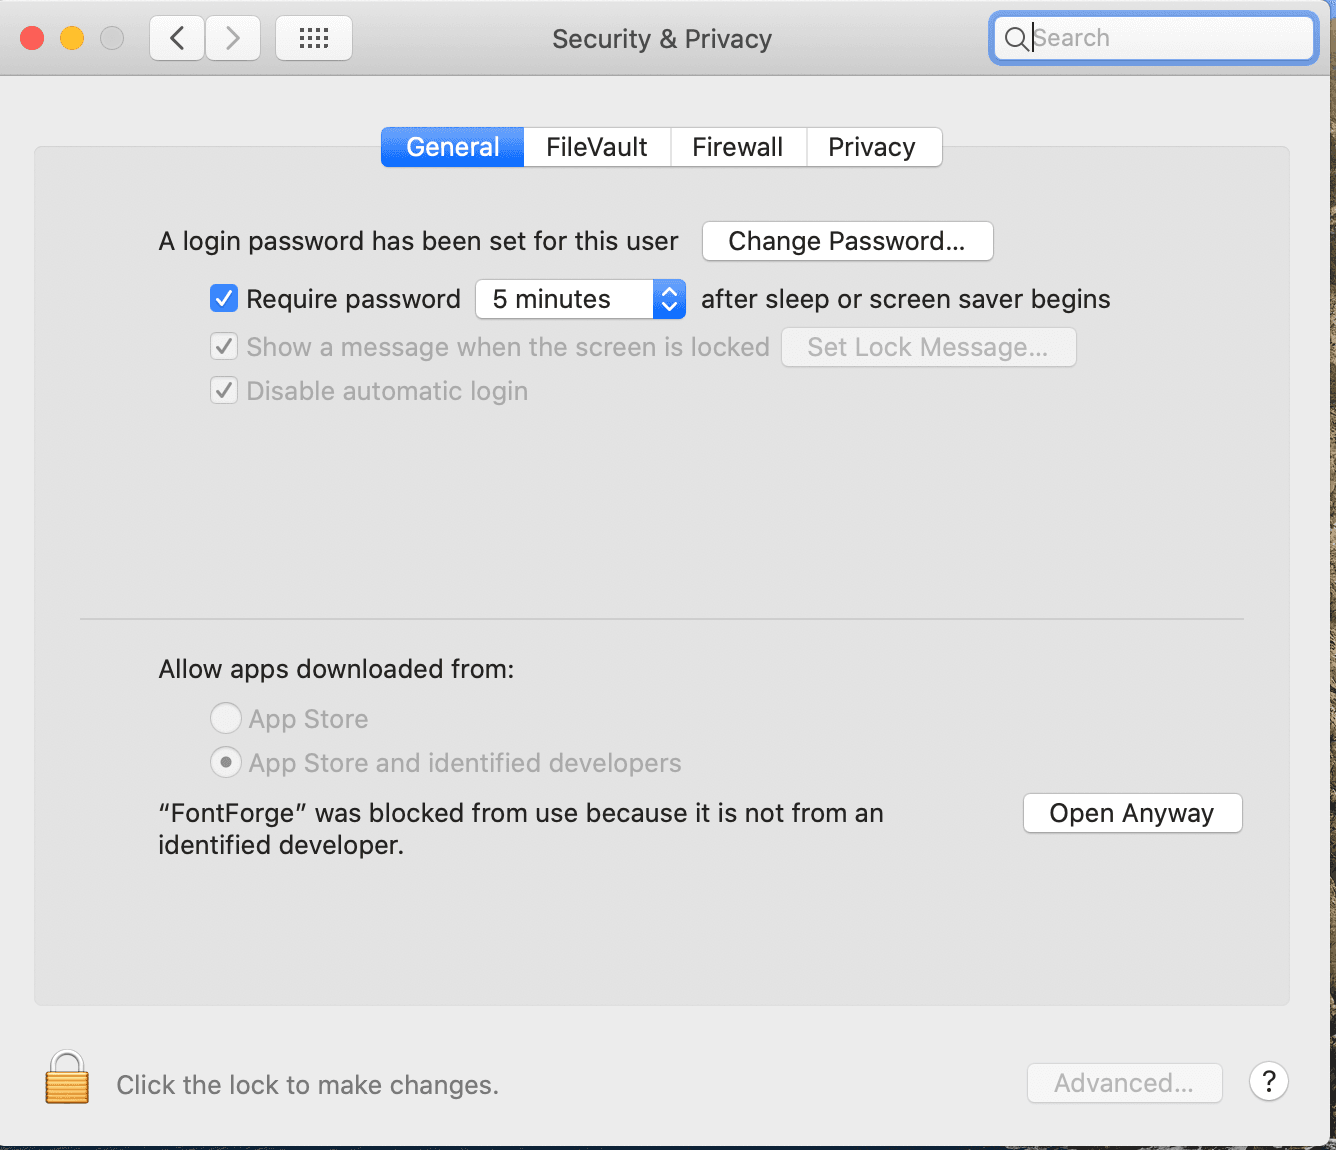
7. Click the Apple icon > System Preferences, and go to Security & Privacy.
8. Where it says “FontForge was blocked from use because it’s not from a verified developer”, click Open Anyway.
9. Now go back to the FontForge icon in your Applications folder and double-click to open it.
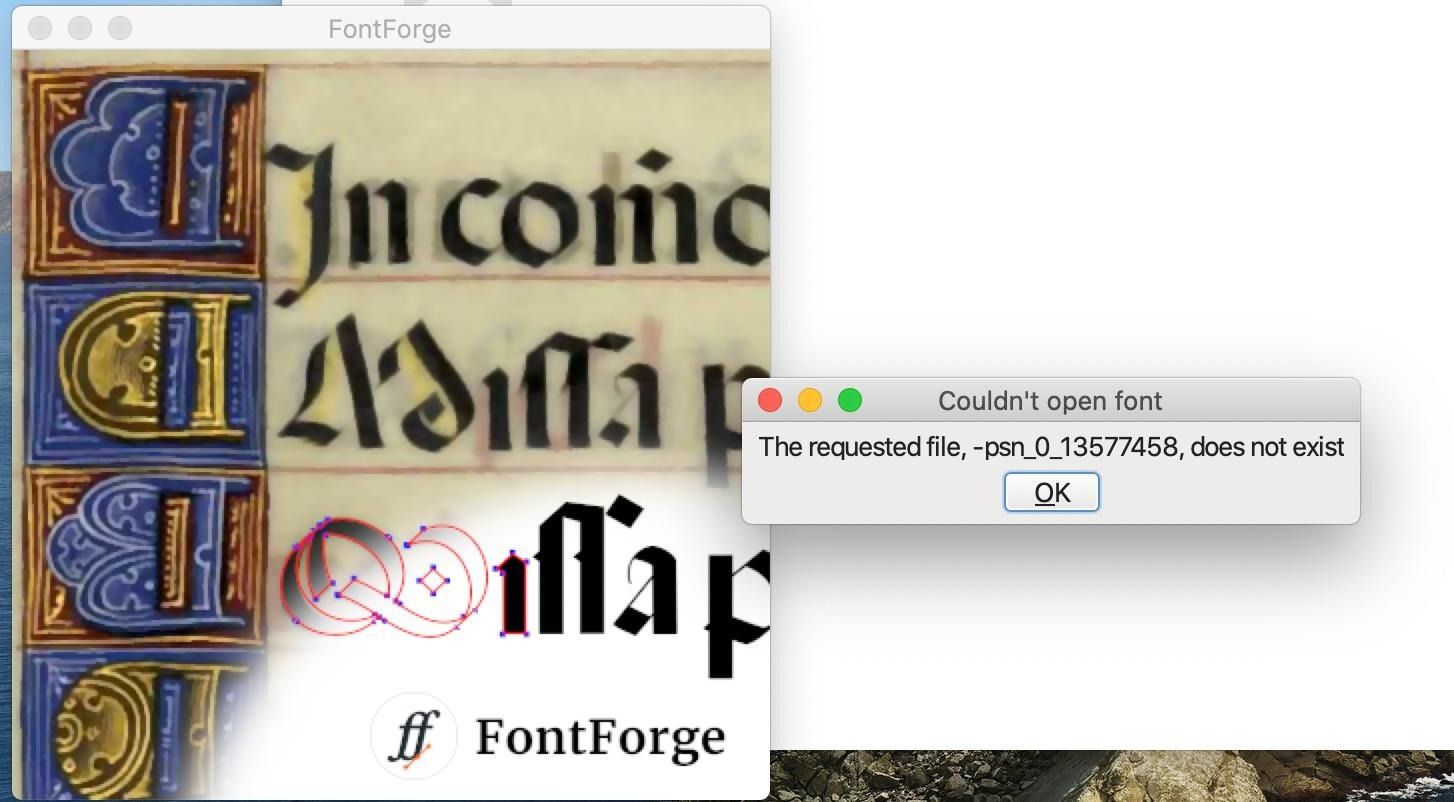
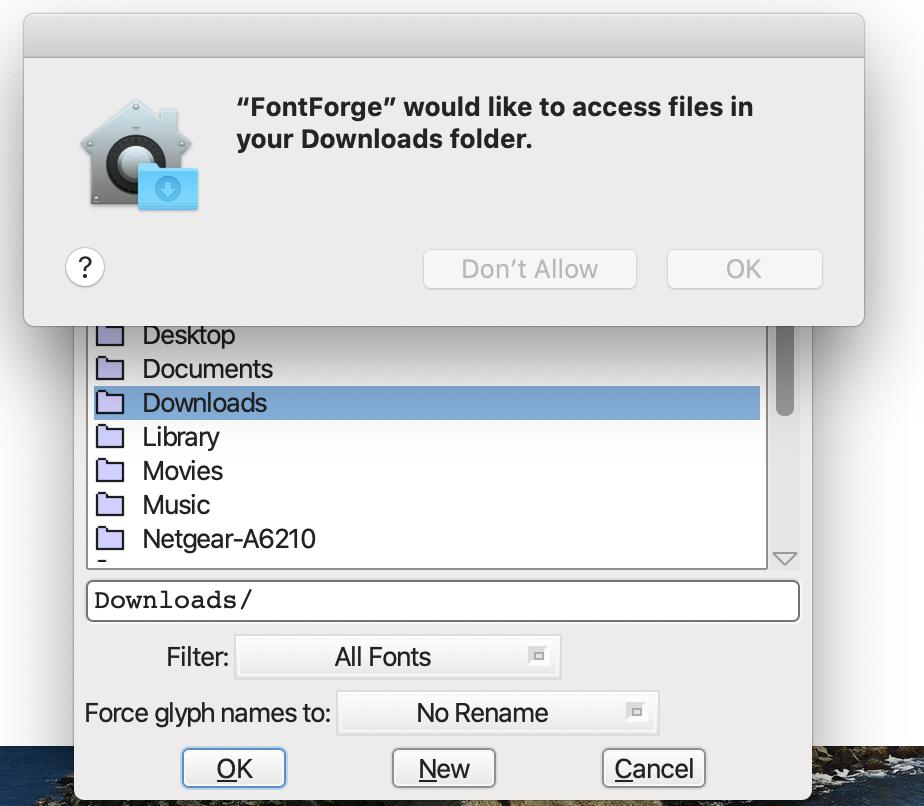
10. Click OK and then open a folder of your choice.
- You will have to allow FontForge access to individual folders as you go.
On the first day of class, the instructor will spend time helping students become familiar with the software.


